Friday, September 30, 2011

Mission Accomplished

I am happy to report that I got another 16 cards made yesterday. This is the design I chose. I cased a beautiful card by Mariana Grigsby - you can see it here. I made my card 5"x7" so I had to add a few more elements to fill the page.

The stamp set (Merry & Bright)  is from Just Right and is designed to work perfectly with Spellbinders Heirloom Ornaments 2010 die cut set. Just Right has quite a few sets that work with Spellbinders and many of them are on my wish list!

I used hunter green (SU) c/s for the base and Bazzil emerald city and brushed gold (SU) for the rest.

First I used my score buddy to create the embossed design on the background layer. Then, I stamped the ornament with encore gold ink on a separate scrap of the emerald paper and heat embossed with a fine gold EP. This was die cut with the second largest ornament die. After the ornament was cut, I edged it with a gold leaf Krylon pen. I stamped the words in gold on gold c/s, then used the ornament stamp again to create the circle around the words. Heat embossed it all and punched the circle with a 1 3/4" circle punch. These two pieces were mounted with dimensionals. (Seems I use these on almost every card!)


I used Spellbinders 12" classic lace border and gold c/s to make the top  and inside trim, and then added a strip of the gold c/s at the bottom. The ribbon is from Michaels, attached with a large glue dot, and I can't remember where the bling is from - there are no markings on the package. The little 'gems' were all attached with mini glue dots. The inside sentiment is from Heartfelt Creations also gold embossed.  (This shot was taken using my flash, so the colours are not true.)

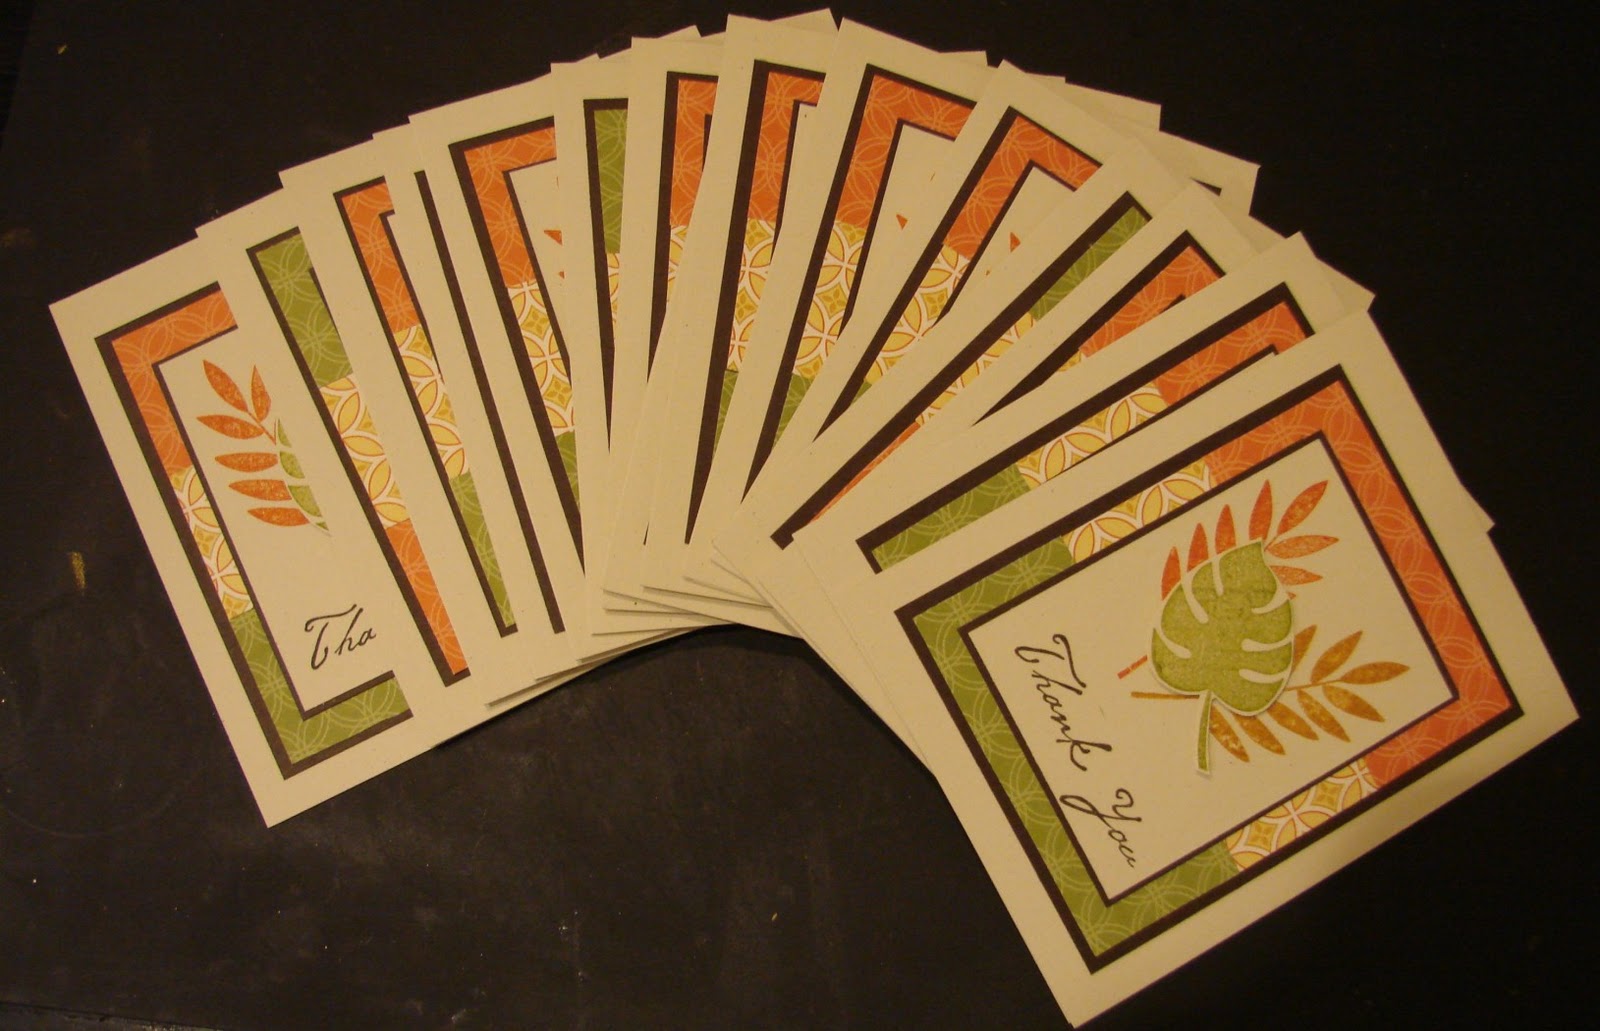
It took me all day to make 16 of these, but I am quite pleased with the results.

Thursday, September 29, 2011

A Little Late

Yes, I am a little late today. I must admit, I got so busy designing that I forgot I had not posted yet. I am working on the last 32 of my personal Christmas cards, getting them all ready to drop into the mail on December 3rd. I need to have them all ready by late October, and that deadline is creeping up on me faster than I care to admit.

But enough about me. Here is my offering for today. My husband and good friend both needed some 'Thank You' cards last month and I made 15 of these babies. Quick and easy. I especially liked the paper I used for this. It is a retired SU dsp grouping. I used three of the designs, and cut 3 bands of colour to layer.The foliage stamp set is 'Paradise' and the words came from the 'Many Thanks' set, both from SU. The A2 card base and top layer were naturals ivory c/s, and the mats were made from chocolate chip. Ink colours were chocolate, pumpkin, olive, and mustard. I stamped two of the leaves and the sentiment directly on the ivory c/s, then stamped a third on a scrap and cut it out to mount with dimensionals. The guys I made these for appreciated that they were not too flowery and feminine. I appreciated how quickly they came together.

Wednesday, September 28, 2011

Beautiful Season

As promised, here is the first of the six Christmas cards that were made at the workshop last weekend. This one is a standard A2 size card and is made entirely of Stampin'Up products. The best thing about it is that it can be mailed using a standard rate stamp.

The stamps set is 'called 'Beautiful Season'.The card stock is Crumb Cake and Cherry Cobbler. The dsp, Deck the Halls, is retired now. It is a good thing I had lots of it on hand. I used a Cherry Cobbler marker for the berries and a white gel pen to highlight the chickadee. The ribbon is the new quilted satin - quite lovely. I used the decorative label punch to make the label and the mat.

To make the mat, punch two labels in cherry, cut them in half - 1 horizontal and 1 vertical - and layer them behind the crumb cake label. A fun way to create layers if you don't own any nesties.

I mounted the image piece and the label with dimensionals. A quick and simple card if you need to make lots.

Tuesday, September 27, 2011

Live in the Moment


The past couple of weeks around here have definitely been worth remembering and I know that when we are locked in the deep freeze of Janurary, I will want to hold a day like today close in my memory.. This is my humble attempt to emulate nature.

The card base is ivory and is 5" x 7" . The first layer
is also ivory with ink sponged on in blended
layers. The upper right corner was left blank
and some spots were added. Ink colours used
were straw, honey, rust, and broken china all
from Ranger.. The stamp sets were
'French Folliage' (SU) and Stampers
Anonymous -'Nature's Moments'.

I made the braid and tassel using some teal
omber shaded embroidery cotton. The top layer and
teal mat were die cut with Spell Binders '
deckle edged rectangle nesties. The leaves were layered on with dimensionals.


 One more thing I wanted to share today. Last week my DH this wonderful bow maker for me. In fact he made 3 of them, 2 for me and 1 for my BFF who struggles so much making any kind of knot or bow. I hope this will help as she has 25 Christmas cards at her home waiting for bows!!

Please note that he even painted the base so that we would not get slivers. What a sweetheart!


Monday, September 26, 2011

Weekend Recap


Well it was a spectacular weekend here in sunny Alberta. I was lucky enough to get out on the golf course not once, but twice. My Saturday game was one of my best this season.  Here are a couple of pictures from Saturday. The colours are so amazing right now. Within a week, the leaves will all be off the trees. So sad.


Yesterday was the first of the two Christmas card workshops I am holding this fall. The ladies were kept very busy all day with die cutting, heat embossing, sponging, cutting, bow tying, and, of course, stamping. We all got to eat our lunches out on the deck. In late Sept!! Go figure. Here are a couple of shots of everyone hard at work.


I plan to show you the cards in the coming days.

Friday, September 23, 2011

Limelite Hydrangea


This is an easel card that I made for my aunt's 90th b'day. The idea was CASEd from Sandi MacIver. I would link youto her blog but I don't know how to do tht yet. Just google her name and you will find it.


The main colour is pear pizzazz and the image is from 'Because I Care'. I can't remember off the top of my head what set the sentiment is from. The green c/s mat was embossed with the 'Perfect Polka Dot' ef.  I stamped the hydrangea on white c/s, and die cut it with the Spellbinder's Lattice Square die. A larger mat was also die cut. Then I punched out about 50 tiny blossoms using one of the punches from the 'Itty Bitty' 3 pak. I sponged each little flower with pear and old olive, then shaped them all with a stylus. After attaching them to the hydrangea with mini glue dots, I added a small pearl the to center of each blossom. The sentiment label was die cut using a Cuttlebug  folder and sponged with the pear ink. Two pearls were added to it and, after attaching SU 5/8" white organza ribbon, the label was popped up with dimensionals. The lacey mat behind it all was created using a MS around-the-page punch set.  Then the whole thing was attached to a 5 1'4" square white card. Unless stated otherwise, all products used were SU.

If yu click on the picture, you will get a close up that will show the details. Lots of work, but my dear auntie is so worth it. She a like the energizer bunny - just keeps going and going......

Well, off to get some laundry done and then to the links on a glorious, warm and sunny day. Hope you are all having wonderful weather where ever you are.


Thursday, September 22, 2011

Prairie Girl at Heart

Well you can move the girl from the prairie, but you can't take the prairie out of the girl. When I saw this Hero Arts stamp, I could not resist. There are few sites in the fall as lovely as ripened wheat rippling against a clear blue sky.

Where I purchased the stamp, there was a card on display that I cased. I do not know the name of the artist to give credit to, but if you are she, or you know who she is, please let me know so that I can acknowledge her.

The base is the Bazzil c/s with the beautiful pearlescent sheen. I sponged a bit of daffodil ink in the top right, some baja breeze on the top left, and pearl pizzazz along the bottom. (SU inks)  Then I stamped the image using Versamark, and I embossed it with 'chunky indian gold' ep from B&J's Art Stamps. The words (from Stampendous) were stamped and embossed on white c/s and die cut with Spellbinder's label 4 die. I popped it up with dimensionals, added some gold rhinestones, and attached the finished panel to a white card.

This would be a great card to send to someone who is in a funk or is struggling in some way. I love the message.

Okay, I am off to prep for my first of two stacks on Sunday. 


Wednesday, September 21, 2011

Leftovers Card

I was trying to clean up my desk today, and was struck by the coincidental juxtaposition of random items from experiments done earlier this month. They seemed to just fall into place and, with a few simple adjustments, I had my 'Leftovers Card'.

The background is a technique I learned from Helene Metevier over at Magenta Style. I used 2 border designs of 'Peel Offs' as follows. Adhere the stickers to some fabric first to reduce the stickiness. Your jeans will work. Then lay them side by side on the c/s you wish to alter (there were 5 strips laid on the paper for this project.). I used a white 5x7 card. Sponge the ink onto the c/s over the stickers. My color choices were teal and cool carribean by SU - you can apply as many colors as you like. Then carefully remove the stickers and re-store them to use again at a later time.

The flower is made with the Fun Flowers die from SU. I sponged ink on the petals before putting it together and attaching it to the card. The white strip across the bottom is made using a MS punch and SU's pear pizzazz 1/2" seam binding is woven through it. A bow tops it off.  The rhinestones are Recollections from Michaels and I used one extra rhinestone for the flower center. The only thing not lying around on my desk was the ribbon. Now that is serendipity. And look, Ma, no layers!

I will finish this post with a photo of this visitor we had in our back porch last week. His wingspan was a good 4". If you look closely, you can see the screen through his wings. I can not figure out how he got in as the porch is screened in and no one had been through the outside door in a couple of days. Sadly, I could not get him back outside and in the end, he did not survive. So beautiful though.

Tuesday, September 20, 2011

Christmas Card Stack


I am holding this event in my home twice in the upcoming month. The first one will be this Sunday, September 25th, and the second is schedules for Sunday, October 16th.

This is a little sneak peak at the cards that will be made. Participants will make a total of 24 cards - 4 of each of the designs shown.

I still have room for a few more attendees on each date. If you are interested, please let me know.

Now I have to run. Lots of errands plus some house cleaning today. I'd rather be making cards. Or maybe golfing, as it is going to be a glorious fall day here in sunny Alberta.


Monday, September 19, 2011

Autumn has arrived

Yes, I have finally accepted the inevitable. Autumn is here. Although they are promising some wonderful weather this week. I hope so, as the roofers arrived last Friday, only 3 weeks late, and have a very long way to go. I must say, the funniest thing I have seen lately is their little dog up on the roof with them.

Today, I played with some Heartfelt products, and I am rather pleased with the outcome. To create the leaves, I used 4 colors of ink and sponged a couple of pieces of vanilla c/s randomly. After letting the ink dry, I stamped the leaf motif with gold encore ink and heat embossed with gold. I also stamped and embossed a third image on vanilla with no sponging. This image was die cut using Spellbinders 'Grand Labels Four'. Then I fussy cut the leaves and layered them on  this die cut piece. I used a combination of dimensionals and glue dots for the layering.  A mat was die cut from cajun craze c/s. The sparkly swirls behind were made using Heartfelt's 'Bella Rose' die and some Recollections sparkle c/s from Michaels.  After attaching the swirls to the back of the matted image, I popped it onto the bg with foam strips. The ribbons are also from Michaels. The card base is Cajun Craze again and the finished project is
5 1/4" x 7 1/4" The background paper is from K&Co, and the inks and basic c/s are SU. Ink colors used were; Old Olive, Cajun Craze, Dusty Durango, and More Mustard.

Between the embossing, the sparkle paper and the sparkle in the ribbon, this card turned out to be quite eye catching. No mailing this baby:  I will have to save it for someone I can hand deliver it to!!

Tomorrow, I am going to give a sneak preview of the cards the ladies will be making at my Christmas card stack. See you then.

Saturday, September 17, 2011

This little number is one I created for my daughter, who I  always called Sunshine when she was young. Now I find myself calling my granddaughter by the same moniker. You can't really blame me, they look so much alike even though they are aunt and niece. So when they are together, they are Sunshine One and Sunshine Two!

The card stock, DSP and ribbon are SU. The colours are Baja Blue, Blushing Bride, Garden Green, and Whisper White.The dies are all Marianne Design Dies. I just stumbled across this line a few months ago and I really love the designs. They are a bit tricky to use but worth the extra effort. I used Spellbinders petite scallop oval dies for the sentiment which is from Verve. (I could not resist a whole set of stamps with the word 'sunshine' in it!) Then I popped it up using dimensionals. Finally I topped everything off with some Dew Drops in the center of the flowers.

That is it for today. Enjoy your weekend, and find some time to get your fingers inky.


Friday, September 16, 2011

The end of a good thing

It is rainy and windy and definitely fall here. Seeing as how summer never
really started until the end of July, it seems far too soon for this. I will have to pull out some autumn stamps and get inspired.

Meanwhile, here is a card I made for my husband's birthday 6 weeks ago. Again, everything I used is from SU (with the obvious exception of the tees) The image, 'On the Green" is hear embossed, and the sentiment is punched out and matted using the Decorative label punch. The DSP is from a package (now retired) called 'To the Nines'. The colours used were Chocolate Chip, Crumb Cake and Very Vanilla. The twine and over sized eyelets are also retired items.

Okay, I must go get organized. I have to go into town today to pick up my vehicle which was in getting a paint job fix. Hmmm , maybe I will hit Michaels again.

Thursday, September 15, 2011

And so it begins.

I have been on a Christmas card bender for the last couple of weeks. But I will save those for another day. I want to share a card I made about a month ago, and finally gave to my bestie, Mary, for her b'day on Tues. We had a wonderful morning of shopping followed by lunch and lots of planning for our proposed trip to France in a year.

This card was made using all SU products. I used the card from page 124 of the catalogue as my template. The first layer is Wisteria which I embossed with the Vintage Wallpaper folder. Then I cut three 'doilies' from the 'flirtatious' DSP and added stamped and hand cut medallions that I made using the 'Delicate Doilies' stamp set. I used more paper from the DSP package for the band across the lower portion which was backed with two border strips created with the 'lace ribbon' border punch. I stamped the sentiment to layer behind a beveled windowpane (can you see the doilies I stamped by the words?) . This was attached to the card using 5/8" organza ribbon. The final touch was some basic rhinestones  on the doily images and also on the windowpane.

If anyone is out there looking at this, thanks for visiting and I hope you enjoyed.

So here I am, finally. Like so many before me, I have no idea what I am doing, but I am sure I will learn as I go. I have been thinking about doing this for over a year and I finally bit the proverbial bullet and jumped into the deep end of the blogging pool. Let's get this show on the road.